Saturday, July 30, 2011

I Am Soooooo Into "The Graphics Fairy"!!

The Graphics Fairy

If you're in the blogging world, you probably know about Karen, "The Graphics Fairy". I use her graphics all the time in my website, my blog, for some of my backgrounds, etc. The majority of my headers have been created from her images:


I recently created a website, and used one of her beautiful wreaths to create my header:


...And another button/header:


My new favorite thing to do while I'm relaxing in front of the TV is to combine Karen's backgrounds with her images sometimes with text:


I even created a collage picture frame for a picture of a beloved pet:


Karen's generosity is well-known throughout the blogging world...she tirelessly posts image after image for all of us DIY-ers to use, free of charge. And speaking about DYI...check out her DIY page for ways some unbelievably talented crafters make use of her graphics! Maybe I'll see you there...


Oh yeah...I also created my signature using her graphics!

NOTE: I used the free software Photoscape to create my headers & collages using Karen's graphics.

Sunday, July 24, 2011

No More Hot Legs!! (Except in Shorts)

Well, it was 107 degrees on Friday in New Jersey, and 95 degrees yesterday. Today it was 89 degrees and humid...it's too hot for an over-heated lap-top, and this evening I was sick of it burning my skin while I was blog-surfing. Time to put some of those salvaged fabric scraps to a good purpose!


I used some materials that I had left over from a custom bag I made for my sister...and I rough-stitched some pieces of my favorite fabrics...


....and there it is! I know my computer will be hiding it, but I'll know what's underneath!

Mona Kay

Monday, July 11, 2011

Where Bloggers Create: My Studio Evolving

I purchased Pottery Barn's largest dining room table about eight years ago. I was just beginning to cook a lot, and I was hosting many dinners for friends and family. I don't remember the dimensions, but I do remember that the folks at Pottery Barn made me measure my room twice to make sure the table would fit...apparently that model was returned A LOT.

When I began my business a year ago, I needed SPACE! My house is small...I have a garage, but in New Jersey, there is only a small window of time when one can work in a little room with no heat or air-conditioning...and besides, I was storing all of my unfinished furniture in the garage. In addition, I was beginning to collect interesting pieces for my home as well as my shop, and my rooms were getting more crowded...not less....I was becoming desperate for work space.

In the spring of last year, I found myself in front of my beloved dining room table, eying the 12 x 12 room which was only used about three times per year. I was moving toward the unthinkable decision...I was going to sell my dining room table. It sold on Craigslist in one week for $700....half the price I paid for it.

I immediately sunk the money into my fledgling business, and began to set up my workspace. Chippy and vintage cabinets were purchased, a much-coveted library card cabinet was run down (I followed the dealer to a flea market & grabbed it), furniture was moved from other rooms in the house...and I finally created a couple of "inspiration boards". I fell in love with my new studio, and arranged my materials and tools in a way which pleased my newly creative eye. When I found a complete set of vintage seltzer bottles in their wooden caddy, I sold the bottles, and kept the caddy, sanding it down to a buttery smooth finish, and arranging scissors, pens, rulers, etc. in its divided openings. A salvaged drawer holds business cards, stamps, and notepads. The library card cabinet hides spools of thread, bits of lace, and other small items. When I saw a large, picnic-style table with a matching bench at an estate sale, I left a low bid...then fretted and worried all day that I would lose it. I got it...and had to take it apart at the sale to get it in my car. I sanded it and waxed it but DID NOT paint it...very unusual for me. I get a thrill every time I run my hand across its soft, satiny finish....working on it is sheer pleasure.

I have been fortunate enough to create a space that I love to use. It is still evolving...but here's what it looks like today:


I am linking up to:


My Desert Cottage


I can't wait to see all the studio spaces from the very talented women in blog-world. Thanks for looking at my pictures, and if you're linked to "Where Bloggers Create"...I can't wait to see your space as well!!

Mona Kay

Sunday, July 10, 2011

Armoire Upgrade

Well....I looked and looked, but I can't find my "before" pictures of the armoire in my bedroom. Picture a large, very dark, wood box with two plain doors, and you'll get the idea. Anyway, it was a real eye-sore in my blue and white bedroom, but with all the items I was painting for my shop, and some custom orders I needed to complete, it remained dark for a long time. However, over the holiday weekend last week, while in the middle of other pieces, I hauled it out & got started on it.

First it got a coat of Paris Grey. Then I took a look at those plain doors, and, inspired by the look of a striped grain sack I added some detail.


I love to tone down a coat of paint by mixing Annie Sloan Old White paint with her clear Soft Wax, and rubbing a coat of this mixture onto my pieces. I used this technique on the armoire, and it gave it a washed effect, almost like faded linen. I know there's no "before" for comparison, but here's the after:


It looks quite nice in my blue and white bedroom now! It's a real improvement.

One of these days, I'll work on my bedroom, and then I'll be able to show you how it fits in!

Mona Kay
I am linking to:

Monday, July 4, 2011

Use a coaster!!!

Didja ever look at something in your house...a vignette, an arrangement in a nook, a piece of furniture...and think, "I need to change that RIGHT NOW"? I do this all the time...especially if I've been procrastinating with a project, or if I'm not sure of the change I want to make. I've been brooding over my coffee table for MONTHS now....


....but I just wasn't sure what I wanted it to look like. I knew I was sick of the heavily varnished, pumpkin-color pine, and it really is a pretty little table...the possibilities abounded. I look at it every time I sit and watch TV. Two days ago, when I was in the middle of two other projects, one for a customer, and a large armoire for my bedroom, I was resting while I waited for paint to dry. Suddenly, I couldn't stand it another second. I jumped up and dragged the table outside, grabbed my sander and stripped the top down to unfinished pine.

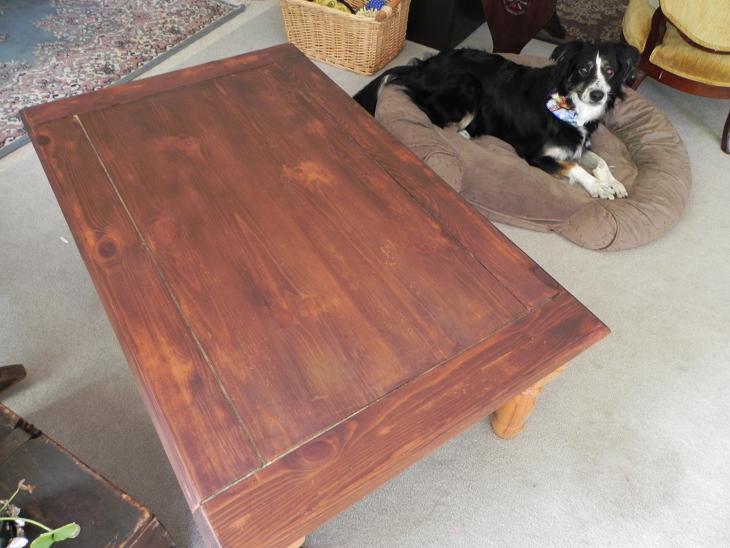
Miss Mustard Seed
has some truly beautiful pieces with stained wood tops and painted bodies which I just love, so that is where I started, by staining the top.


Sydney, my two-year-old Border Collie, didn't run from the camera for once, so I included her in the shot :)

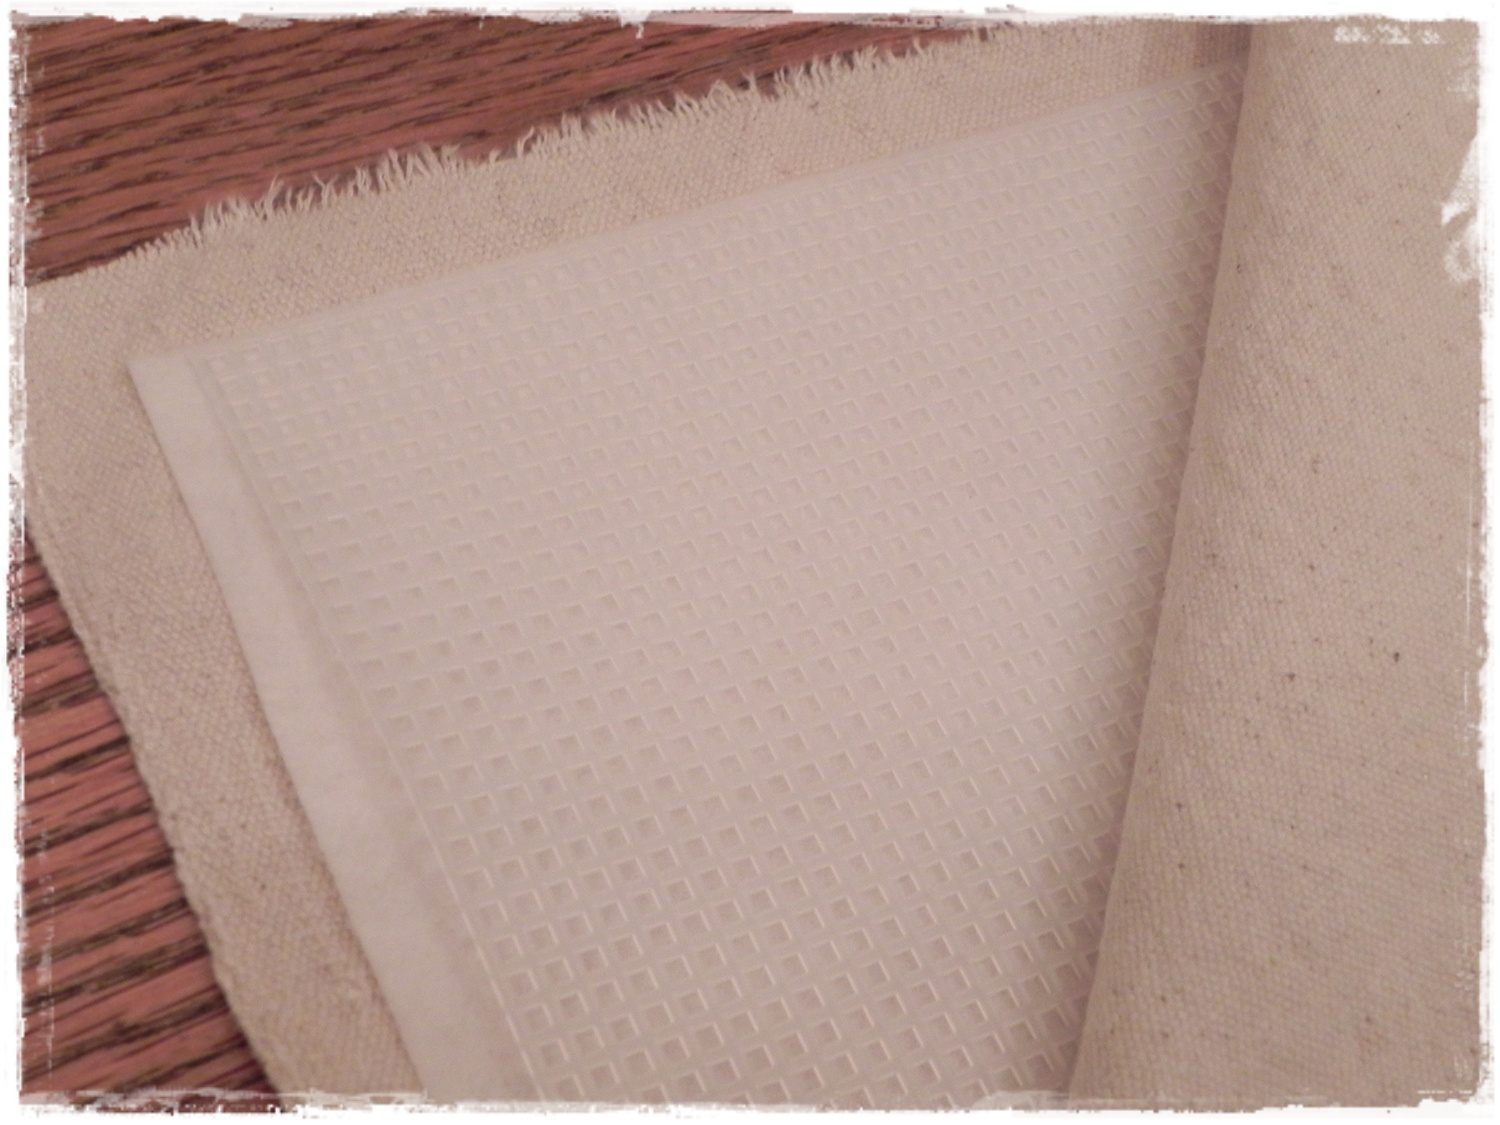
I thought some detail on the top would look nice, so I decided to add some small stenciled scrolls.


I painted the legs and the body with Annie Sloan's "Old White", then mixed Valspar Mocha Glaze with Annie Sloan's Soft Wax (Annie Sloan makes a soft Dark Wax too, but I was working with what I had).


I brushed this mixture generously over the Old White to give it an aged and textured look. I've read several ways to do this, and I highly recommend Annie Sloan's how-to book "Quick and Easy Paint Transformations". Here's how it turned out:


Et Voila!! Finished, right?? Well....I left it for quite some time, because I wanted to wax the top, and the stencil paint takes a long time to cure. And the longer I looked at it, the more I decided that the dark top just wasn't for me. After all, I'm always painting brown furniture another color! I needed a way to lighten it, but I wanted to keep the detail of both the beautiful wood and the stencils. Back to mixing paint and wax....

I mixed equal (by eye-ball) parts Old White and Soft Wax, and mixed it into a paste with the brush that I reserve for waxing. I painted and wiped, painted and wiped...rubbing and removing, until I got just the "washed" "limed" look I wanted. I also brushed a little undiluted Old White on with a "dry brush" (very little paint on the brush), and wiped to the consistency I wanted. Here's the final result:


Once again, the before:


And the after:


I'm so much happier with this table...for now!! Now, about that pesky sideboard in my window.....

I am joining Miss Mustard Seed at:
Furniture Feature Fridays

And linking to:


Join me there!!

Mona Kay